How to Make Stained Wood Darker Without Sanding?

August 2, 2025
7 minutes read
This article lays out simple no-nonsense ways to darken stained wood without sanding, saving you time and helping you keep your project’s quality on point.
Learning how to make stained wood darker without sanding can be tricky mainly because the existing finish usually gets in the way, preventing new stain from really sinking in.
Understanding How Wood Stains Play Along with Existing Finishes
Wood stains sink deep into the open pores of the wood coloring the fibers just beneath the surface. However, if the wood has layers of old stain or protective finishes like polyurethane they can act like stubborn gatekeepers blocking new stains from soaking in.
Essential Steps to Take Before Darkening Stained Wood Without Sanding A Handy Guide
Darken stained wood without sanding by starting with a good clean to whisk away dirt or oils that could muck up the stain's chances of sticking properly. I have found that wood cleaners or mineral spirits usually do a solid job prepping things just right.
- Start by giving the wood surface a good once-over with a mild detergent or a cleaner made just for wood. This will help remove any dirt and grime lingering.
- Next, grab some mineral spirits to wipe away stubborn wax or oil that could interfere with how the stain sticks. This step is well worth it.
- Before diving in, test your chosen darkening product on a hidden spot first to see how it reacts with the wood and get a sneak peek at the color it produces.
- If your finish is glossy, use a light touch with fine abrasive pads or liquid deglossers to gently dull the surface. This helps the new product adhere better without trouble.
- Finally, make sure the wood is completely dry and free of dust before applying any stain or finish. Being patient here really pays off.
Various Ways on How to Make Stained Wood Darker Without Sanding (Yes, It Can Be Done!)
You can darken stained wood without breaking out the sandpaper using a handful of effective ways. Gel-based stains usually sit on top of the surface like icing on a cake. Tinted finishing products do double duty by adding color and giving the wood some protection. Applying several thin coats gradually deepens the hue without rushing it. Wood dyes are another great choice because they soak in, so sanding becomes optional.
1
Go for gel stains over the existing finish because their thicker pigmentation tends to darken the wood surface without soaking in. It is like a good coat of paint that just sits on top.
2
Apply tinted polyurethane, varnish or lacquer finishes to add a clear darkening effect and give the wood some much-needed protection. It’s a win-win really.
3
Build up a richer color by layering several thin coats of liquid wood dyes. Make sure each one soaks in before adding the next since patience pays off here.
4
Mix a glaze tinted with stain or paint and brush it over the wood to craft custom tones and subtle shading. This is perfect when you want to be creative without going overboard.
5
Combine staining and glazing techniques to gradually develop color while keeping the wood’s natural texture and shine intact. This way it looks rich and authentic.
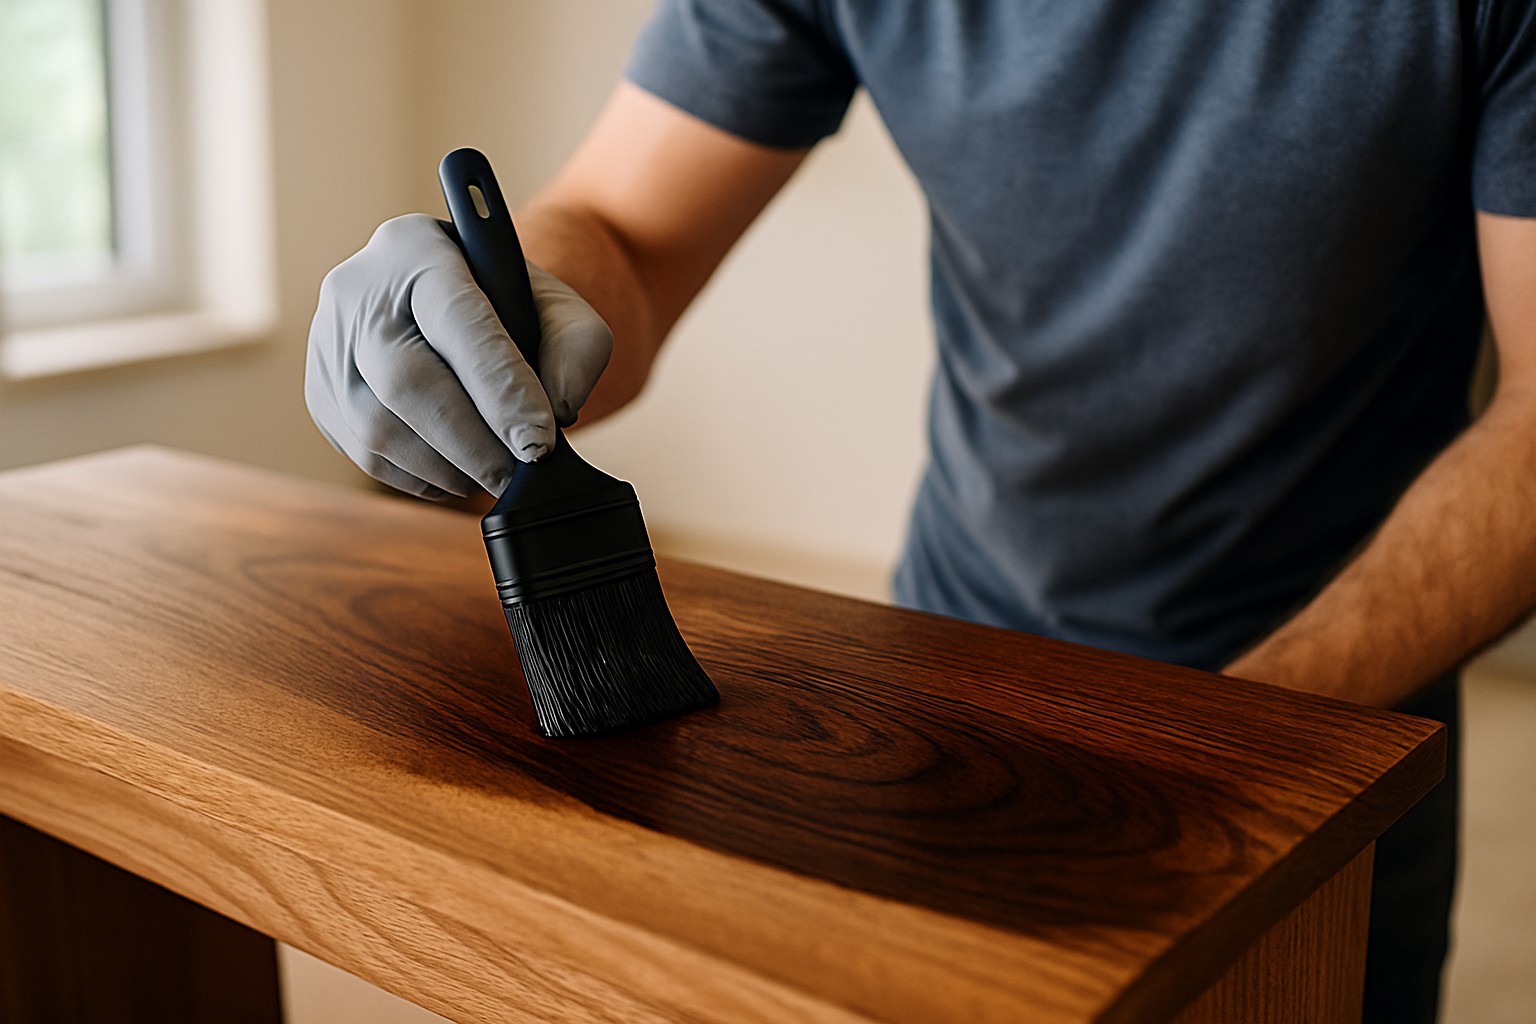
Applying gel stain on stained wood to darken the surface without sanding.
How to Apply Gel Stains Over an Existing Stain Without Turning It into a Hot Mess
Gel stains are thicker than typical liquid stains and work to their advantage by sitting on top of the wood and covering existing finishes like a charm. I’d recommend picking a gel stain just a tad darker than the wood’s current color to add depth without going overboard. Clean the surface well, and if you’re dealing with a glossy finish give it a quick once-over with a liquid deglosser. When applying the gel stain use a brush or cloth and go with the grain—that’s the secret to getting an even natural look. Let the stain hang out on the wood for 5 to 15 minutes then wipe away any extra with a clean cloth. Drying times can be unpredictable but usually you’re looking at between 4 and 6 hours. If you want a richer more vibrant color just add more coats after the first one’s dry and repeat the process until you hit the perfect shade.
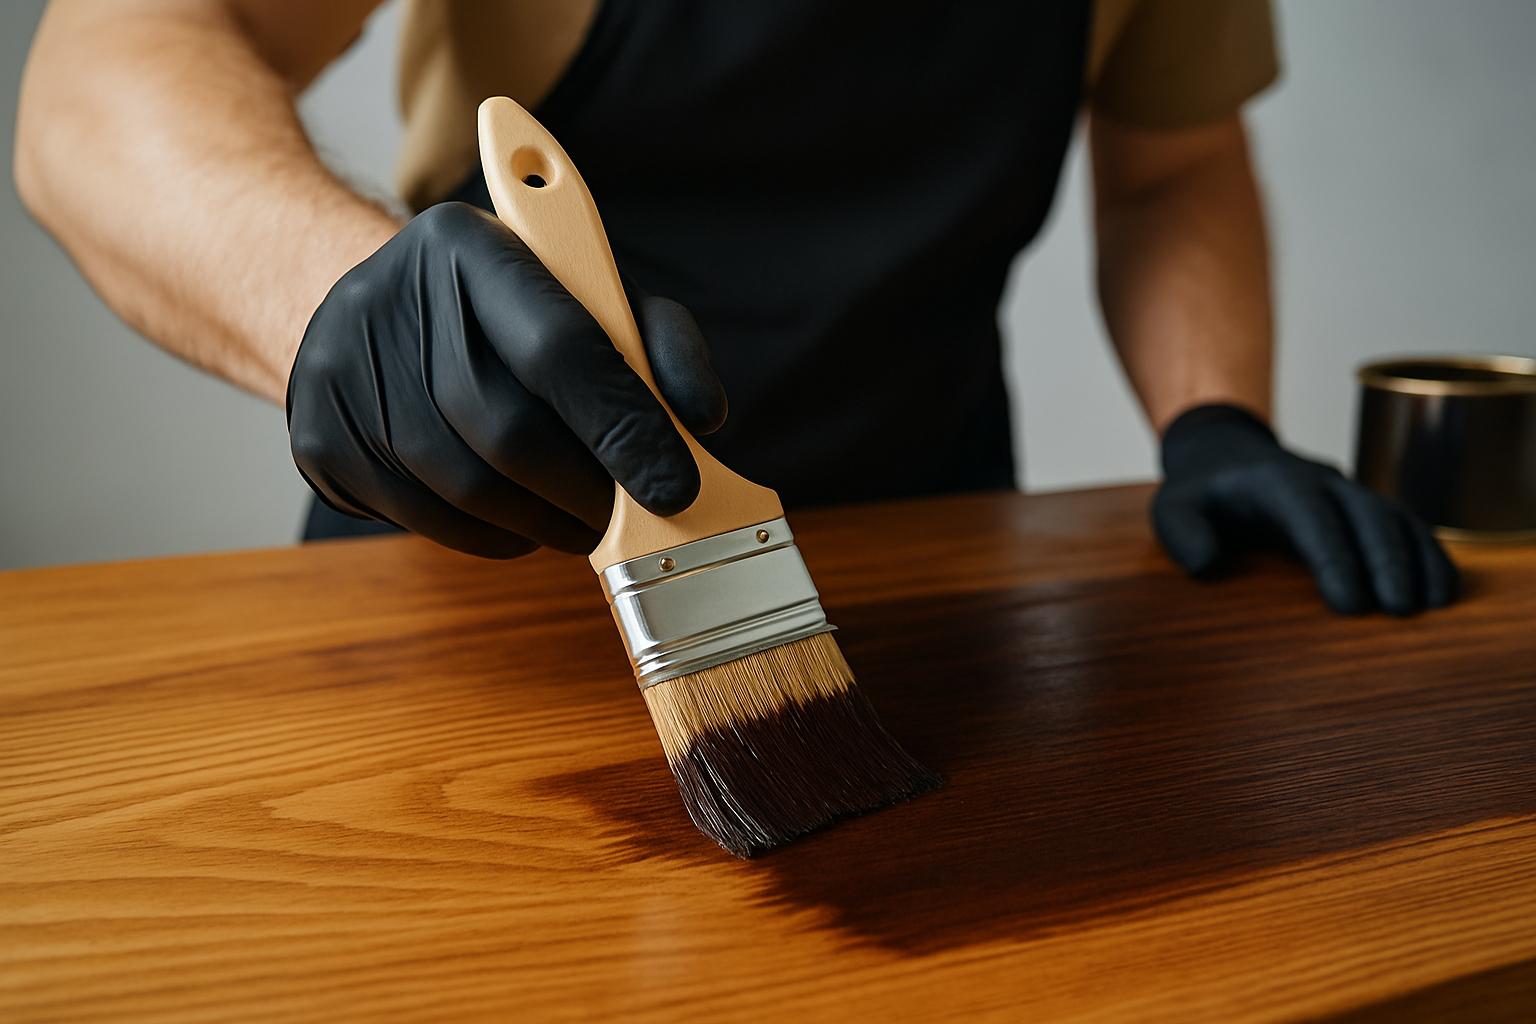
Darkening Wood with Tinted Finishing Products A Handy Guide
Tinted polyurethanes, varnishes and lacquers pull double duty as both colorants and sealers. These finishes softly bring out the wood’s natural tone without the hassle of stripping or sanding. They are perfect for adding cozy warmth and rich depth that lets the grain shine.
Applying Layers of Wood Dyes and Glazes
When it comes to working with wood dyes and glazes, layering isn’t just a technique—it’s more like an art form. By carefully building up layers, you can coax out deep, rich tones and subtle nuances that a single coat simply can’t deliver. It might take a bit of patience (and a steady hand), but the results often speak for themselves—think of it as slowly unwrapping the wood’s hidden character. Plus, a well-applied glaze can add a softly glowing depth that catches the light just right, giving your piece something extra that feels both timeless and uniquely yours.
Wood dyes tend to sink in much deeper than stains, which makes them perfect for darkening wood without the hassle of sanding—especially if you’re patient enough to apply them in layers. Slapping on a few thin coats of a concentrated dye lets you gently build up the color, bit by bit. On top of that, using glazes with stains or paints creates a lovely overcoat that adds depth and lets you tweak the hues just so.
Key Tips and Best Practices for Darkening Stained Wood Without the Hassle of Sanding
- Make sure you are working in a well-ventilated space because nobody wants to feel like they’re swimming in fumes from stains and finishes.
- Always test products on a hidden or small patch of the wood first. This small step can save you from a big headache later.
- Stick to consistent brush strokes or cloth movements when applying finishes to keep things looking smooth and to avoid any unwanted streaks or blotches.
- Let each coat dry completely before applying the next one. Rushing this step usually leads to tacky messes nobody enjoys.
- Give your freshly darkened wood a good protectant topcoat. It’s the best way to lock in that rich color and keep the surface durable for the long haul.
Common mistakes when darkening stained wood without sanding often boil down to applying stain or finish a bit too thickly, which usually results in uneven color and noticeably longer drying times. Skipping a proper cleaning step beforehand tends to cause poor adhesion and those dreaded blotchy patches. Another classic slip-up is overlooking product compatibility which can lead to peeling or discoloration that nobody wants to deal with.
When It’s Actually Worth Calling in the Pros or Exploring Other Sanding Routes
If you're wondering how to make stained wood darker when the finish is seriously messed up or you want a smooth rich darkening that quick sanding-free tricks cannot pull off, it's usually best to bring in a pro. Skilled experts know their way around gentle sanding, like hand-sanding with fine abrasives, or carefully applying chemical strippers that prep the surface without damaging it.
Camden Sterling
21 articles published