How To Paint And Detail A Tinker Gnome For Visual Impact?


This guide walks you through each step of transforming a simple tinker gnome into a stunning finely detailed work of art — no magic wand required.
Tinker gnomes are those delightful little decorative figures that instantly bring a touch of whimsy and charm to any space. When you add paint and little details, it’s like giving them a personality—an extra spark that lets your own style shine through while highlighting their crafty design.
Have top-notch paints, brushes, primers and sealants all within arm's reach. Take a moment to set up your workspace just right and prep the gnome's surface carefully.
Gathering Your Supplies The Must-Have Tools and Materials You’ll Definitely Want on Hand
- A trusty set of quality acrylic paints made for tiny miniature surfaces delivering vibrant colors that pop and stand the test of time without fading
- Fine detail brushes in sizes ranging from 000 to 2 perfect for tackling fiddly spots where precision is king
- A primer spray or brush-on primer to lay down a smooth even base because nothing ruins a paint job faster than an uneven start
- Matte or satin clear sealant to give your finished piece a protective hug and keep it looking fresh
- Detailing tools like toothpicks, small sponges and fine liners to sneak in texture and highlights like a pro
- A palette for mixing lovely paint shades and thinning them just right because no two miniatures are alike
- A trusty container of clean water ready to rinse your brushes between colors and keep things neat
- Soft lint-free cloths to gently clean and dry your gnome before you start magic on it and afterward too for that final polish
When it comes to picking paints, I’ve found it’s smartest to stick with artist-grade acrylics designed specifically for plastic or resin surfaces. This way, your colors pop just right and last the distance. Brushes deserve some love too, so go for synthetic ones that hold a fine tip and don’t stiffen up on you.
Getting Your Tinker Gnome All Set and Primed for Painting
Give your tinker gnome a gentle scrub with some mild soap and warm water. This step helps remove dust, grease or leftover mold release agents from manufacturing.
Take a close look at your miniature. If you spot rough patches or stubborn mold lines, grab some fine-grit sandpaper and carefully smooth them out to achieve an even surface. Patience here really pays off.
Brush on a thin, even coat of primer all over the gnome and let it dry completely. This important stage helps the paint cling better and brings out tiny details.
Finally, allow the primer to dry for 1 to 2 hours before you start painting. Rushing this step can cause bubbling or peeling later on.
Skip surface preparation and it can be the sneaky culprit behind paint that just will not stick right or starts flaking off later on. When you are reaching for that fine sandpaper, take it slow and steady because you definitely do not want to accidentally wipe away any of those charming little details on your gnome.
A Step-by-Step Guide to Painting That Brings Out the Best Visual Results
Start off by applying a base coat in a mid-tone color that covers the whole figure. This creates a smooth foundation to work from like the first brushstroke on a blank canvas.
Gradually build up your colors by tackling the biggest areas first then zoom in on finer details. Patience really pays off here.
Add depth by shading recessed spots with darker tones and highlighting raised areas with lighter shades. It’s amazing how this simple trick makes your figure pop.
When painting facial features, tools and clothing details, use fine brushes and take your time. These little touches give your figure real personality and lifelike charm.
Be sure to let each layer dry fully before moving on because you don’t want to deal with smudges or uneven textures later on.
Blending colors smoothly can really work wonders and add depth and richness to your tinker gnome that makes it pop. I’ve found that using damp brushes to softly blur edges between shades works well. Build up your layers little by little starting with translucent washes and gradually moving to thicker and more opaque paint. This method helps capture natural light and shadow in a way that feels almost magical. Keep a keen eye on spots like folds in the clothing and facial features because these subtle touches naturally draw the viewer’s gaze and add real personality.

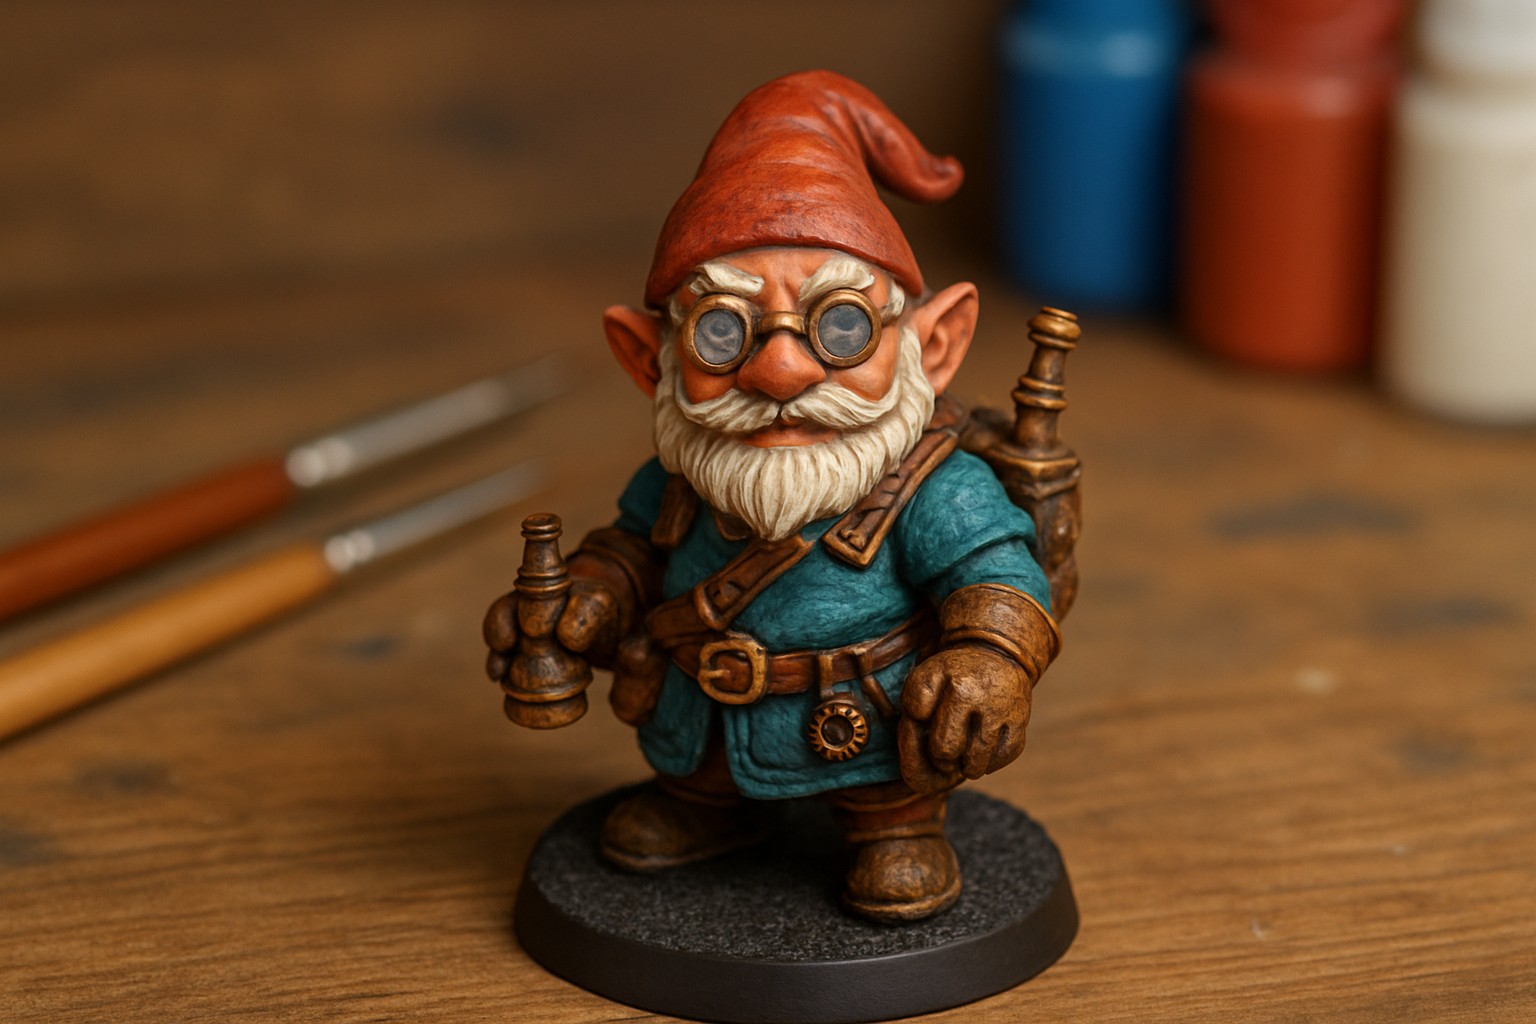
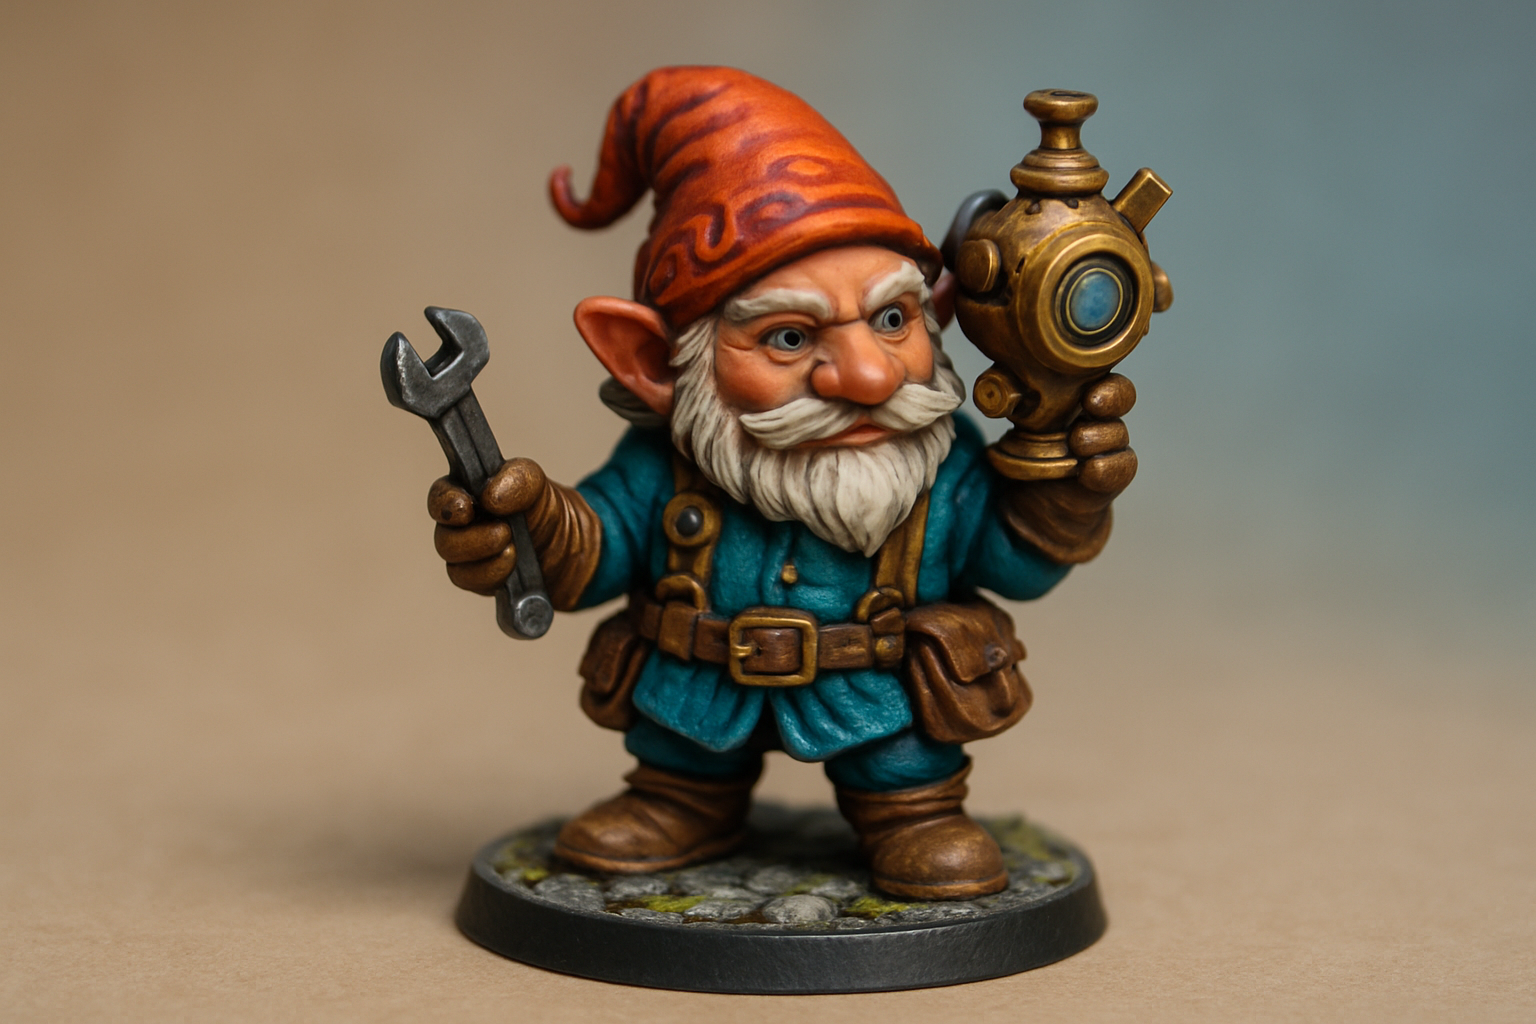
A close-up image of a freshly painted tinker gnome illustrating detailed craftsmanship and color layers
Tried-and-True Techniques to Really Bring Your Tinker Gnome to Life
- Use fine lines to bring out facial features like the eyes and eyebrows and tiny expressions that give a character real personality.
- Apply washes to add texture and depth to crevices while hinting at shadows and little signs of wear that tell a story.
- Use dry brushing on raised areas to mimic how light naturally hits and give the piece a punchier three-dimensional feel.
- Add metallic accents to tools or hardware for a believable gleam that catches the eye and spices things up visually.
- Create texture on clothing and accessories with subtle stippling or cross-hatching techniques to convincingly replicate fabric and material surfaces—it's those details that really sell the look.
Patience and accuracy really are the secret sauce to nailing successful detailing. Taking breaks and ensuring good lighting can work wonders for keeping your hands steady when the going gets tough. Sure, those tiny details can feel like they take forever but they transform a basic paint job into a little masterpiece that seems to tell its own story. And if you use magnifiers or ergonomic holders you’ll not only reduce strain but also crank up your precision.
How to Seal and Protect Your Painted Tinker Gnome (Because Let’s Face It, He Deserves a Little TLC)
It’s a smart move to slap on a clear sealant to shield your artwork from chips, dust and fading.
Go for a sealant that is tailored for miniatures and pick matte or satin finishes depending on the vibe you want.
Slap it on in thin even coats. Spray or brush works fine. Just watch out for any drips or pools that could obscure the tiny details you worked hard on.
Let each layer dry fully. Usually this takes about 20 to 30 minutes. Then build up a few coats to give your piece serious staying power.
Do touch-ups with more sealant here and there, especially if the miniature gets a lot of love or spends time outdoors.
How to Tackle Those Pesky Problems When Painting Tinker Gnomes
- Peeling paint usually pops up when the surface hasn’t been cleaned properly or if the primer gets the cold shoulder. Good prep work really does pay off in the long run.
- To keep colors from playing mix-and-match between sections, it’s wise to let each layer dry all the way before diving into the next. Patience definitely earns its stripes here.
- Those pesky visible brush strokes often show up when you’re working with bargain-basement brushes. Using fine synthetic brushes and laying on the paint with smooth, steady strokes makes a world of difference.
- Uneven textures usually sneak in when paint goes on too thick. Thinning it out little by little can be the secret sauce for nice, even coverage.
- Paint chipping tends to crash the party if the sealant gets skipped or spread too thin. The trick is layering on several protective coats—better safe than sorry, as they say.
Taking care of these issues early on really helps keep your tinker gnome looking sharp and fresh for much longer. I’ve found that a few preventative steps like giving it a thorough cleaning, applying primers, thinning paints properly and sealing the finished work usually provide the best shield against damage and pesky flaws.
"Mastering miniature painting is a true test of patience and passion. With every careful layer you add, your skills quietly sharpen, revealing those incredible details hidden in the tiniest corners."


