
Greater Sunder Rules Explained Simply (Pathfinder)

August 2, 2025
9 minutes read
This article digs into Greater Sunder in Pathfinder, breaking down the mechanics and offering savvy tactics to up your combat game.
Greater Sunder in Pathfinder actually breaks the equipment, which can really change the flow of a fight. For players who love getting into weapon control and calling the shots on the battlefield, mastering this technique often becomes a key piece of their strategy.
What Exactly Does Greater Sunder Mean in Pathfinder? Let us Break It Down
Greater Sunder takes the basic Sunder action up a notch. Rather than just chipping away at an opponent’s weapon or shield or trying to disarm them, it seriously ups your chances of smashing the target to bits.
- Sunder is a combat move designed to knock away or break an opponent's weapon or shield. It is a handy trick when you want to turn the tide of battle.
- Greater Sunder steps things up a notch and delivers a heavier blow to the target item. It makes breakage far more likely—think of it as Sunder on steroids.
- Pulling off this move usually calls for specific feats and demands a higher base attack bonus. It is not something you just stumble into.
- Unlike regular Sunder, Greater Sunder shines against tough, heavily reinforced gear. It is the move of choice if you face a well-armored foe.
Key Mechanics and Requirements
To pull off a Greater Sunder the character needs to land a single melee attack specifically targeting an opponent’s weapon or shield. This move isn’t just any old strike—it requires an attack roll that takes on the item’s hardness and durability head-on.
| Action Type | Attack Roll Modifier | Damage Calculation | Required Conditions |
|---|---|---|---|
| Single Melee Attack | Use your base attack bonus plus your Strength modifier, and hey, toss in a +4 bonus if you’re wielding a heavy weapon—it makes a difference | Deal 2d6 plus your Strength modifier damage to the item, though this can vary depending on the weapon in hand | You need the Greater Sunder feat, and naturally, your opponent has to be within melee range to make this count |
| Opposed Check | The attacker rolls to sunder; meanwhile, the target’s item hardness and HP basically set the DC you’re trying to beat | The damage has to surpass the item’s HP to actually break it—no half-measures here | The target's weapon or shield must be actively held or wielded by the opponent; otherwise, no dice |
| Feat Prerequisite | You need to have the Improved Sunder feat under your belt first | When you use Greater Sunder, the damage dice get a nice bump up compared to standard Sunder—no slouching around here | The minimum base attack bonus? That’s mostly up to the GM—they call the shots on this one |
| Restrictions | This won’t fly against unattended objects, so keep your focus on gear that’s actually in use | Not allowed against natural weapons unless your group’s running some house rules, which I’ve seen happen more than once | And, word to the wise, the current condition of the target’s equipment definitely affects how tough it’s going to be to shatter it |
Things to Know Before You Dive In and How to Bring Your Character to Life
Characters typically need to check off a few boxes to make the most out of Greater Sunder, especially in feats and combat skills.
- You’ll want to grab the Improved Sunder feat first before thinking about Greater Sunder.
- Usually having a base attack bonus of +6 or above keeps this maneuver firing smoothly.
- Classes that focus on combat maneuvers like fighters or barbarian archetypes tend to make this shine.
- Some racial traits or archetypes add bonuses or special abilities that give sundering attacks a nice boost.
- If your character puts points into Strength and combat maneuver bonuses they’ll squeeze the most juice out of Greater Sunder.
A No-Nonsense Guide to Mastering Greater Sunder, Step by Step
Pulling off Greater Sunder in combat really boils down to following a straightforward set of steps. From choosing the right target to rolling that attack and finally landing the damage, players will want to stick to these actions.
1
Pick a valid target: an enemy wielding a weapon or shield tough enough to be sundered.
2
Make it clear you are going for the Greater Sunder combat maneuver before you roll that attack.
3
Roll your melee attack using your base attack bonus and strength modifier plus any other bonuses that might tip the scales.
4
Size up your attack roll against the target weapon’s hardness and hit points.
5
Roll your damage dice, which get a boost for Greater Sunder, and dish out that damage to the item.
6
If your damage punches through the item's hit points the weapon or shield breaks and will be out of commission until someone fixes it.
Benefits and Practical Applications of Greater Sunder Why It Still Packs a Punch
Greater Sunder brings more to the table than just the plain old sundering move. When you shatter critical weapons or shields you effectively disarm your foes and reduce the damage they deal. You also nudge the battle’s flow right where you want it.
- Breaking heavy or magical weapons can seriously reduce an enemy's attack power and sometimes turn the tide in your favor.
- Destroying shields is not just satisfying, it also removes key defensive perks your foes rely on.
- It pairs nicely with other combat tricks like disarm or trip, effectively limiting the enemy's options.
- This disrupts the enemy's plans and often forces them to rethink their strategy or make a hasty retreat.
- It helps you control close combat by limiting how far their weapons can reach.
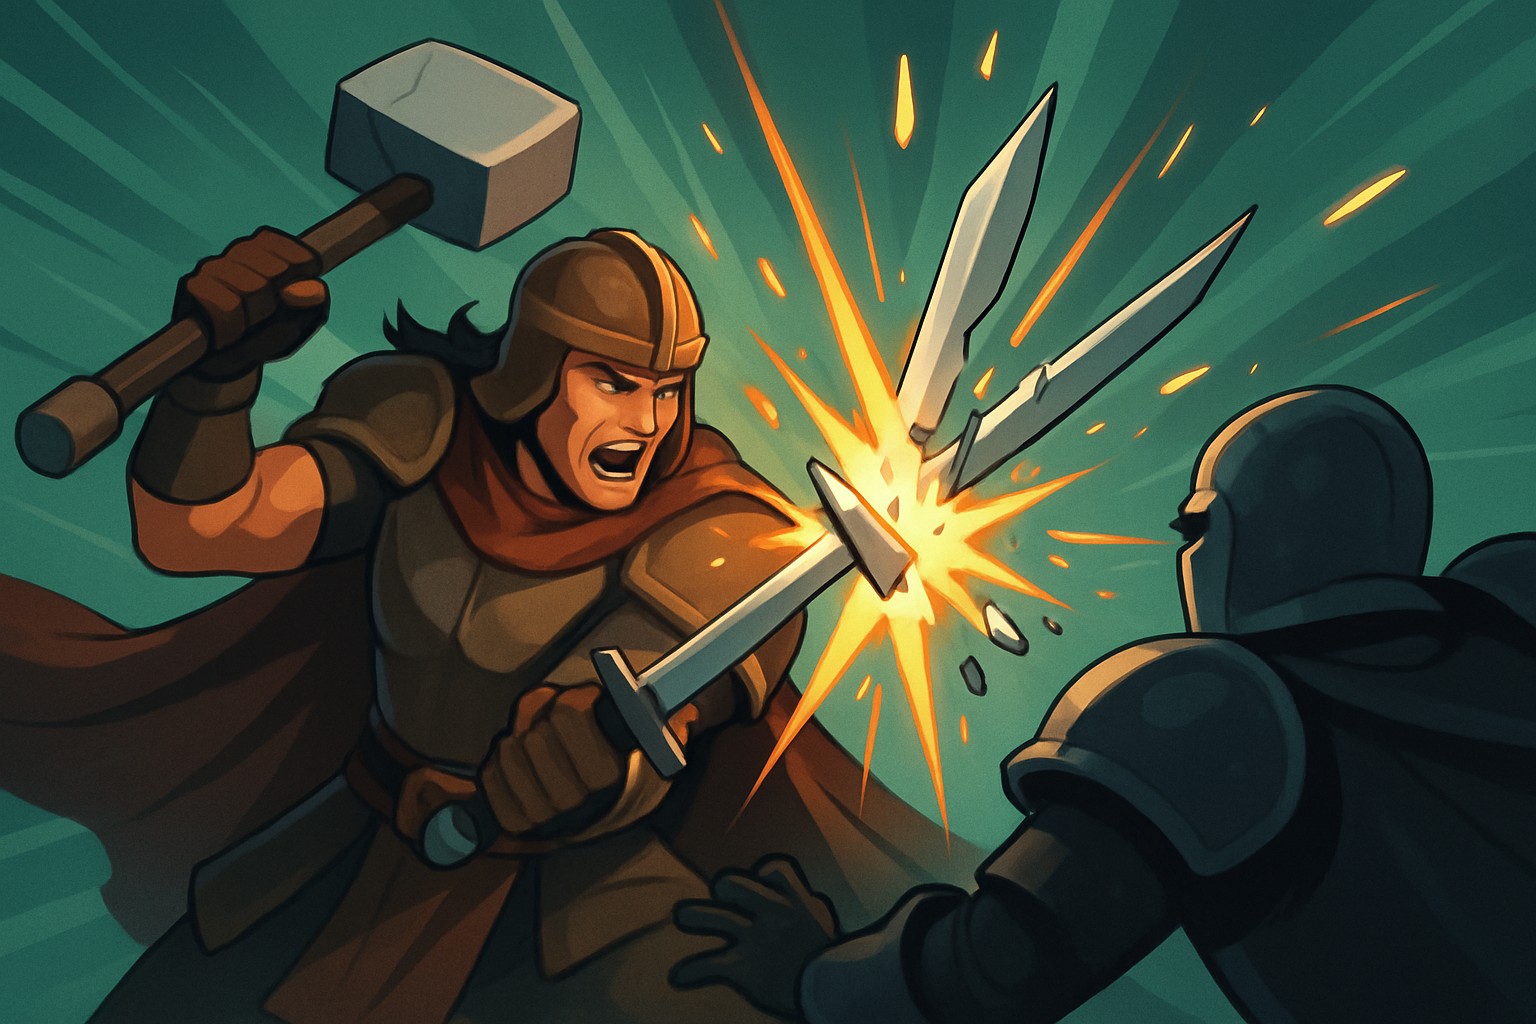
Illustration of a character using Greater Sunder to break an enemy's sword in combat
How Greater Sunder Holds Its Own Against Other Combat Maneuvers
Greater Sunder really stands out among combat maneuvers because it goes after breaking weapons not just disarming foes or sending them tumbling to the ground. When you stack it up against the basic Sunder it usually packs a bigger punch and a more lasting one at that. Disarm simply causes enemies to drop their weapons but Greater Sunder ups the ante by risking serious long-term damage to their gear.
| Maneuver | Action Cost | Conditions | Effects | Difficulty | Common Use Case |
|---|---|---|---|---|---|
| Sunder | Standard Action | Target weapon or shield held | Deals a fair amount of damage to the item, enough to make an impact | Moderate | Perfect for disarming or putting a temporary dent in enemy weapons |
| Greater Sunder | Standard Action | Greater Sunder feat, weapon held | Delivers heavy damage and has the potential to actually break the item | High | Ideal when you really want to wreck enemy gear for good |
| Disarm | Standard Action | Weapon or item held by opponent | Forces your opponent to drop their weapon, leaving them momentarily vulnerable | Moderate | Great choice for quickly neutralizing enemy weapons |
| Trip | Standard Action | Target is adjacent, causes prone | Knocks the opponent to the ground, giving you the upper hand | Moderate to High | Handy for gaining control of the battlefield and turning the tide |
| Bull Rush | Standard Action | Target is adjacent, moves opponent | Pushes the enemy backward, shifting the battlefield in your favor | Moderate | Useful for moving enemies around to control key terrain |
How to Optimize Your Character for Better Sunder
When it comes to getting the best out of Greater Sunder players usually zero in on gear and feats that boost combat maneuver checks and build solid synergy. Buffs and spells aren’t just window dressing either—they’re key players in keeping success rates high and damage consistent.
- Go for heavy hitters like greatswords or warhammers because they really pack a punch when smashing up equipment.
- Mix feats like Improved Sunder and Greater Sunder with Combat Expertise or Power Attack to create effective combos.
- Pick classes that live for combat maneuvers such as Fighters or Barbarians since they are your best friends here.
- Slap on magical weapon enhancements that boost your damage and give your combat maneuver bonus a nudge.
- Bust out spells or potions that increase your Strength like Bull's Strength to raise those damage rolls from good to great.
- Gear up with items that provide bonuses to combat maneuver checks, including abilities from the Titan Mauler archetype or gloves of the titan’s grasp to tip the scales in your favor.
Common Mistakes and How to Dodge Them Like a Pro
Players often trip up with Greater Sunder by trying it without the proper feats or by going after targets that just aren’t on the hook for it. On top of that, it’s easy to burn through attacks like there’s no tomorrow if they don’t keep a sharp eye on their action economy or forget to account for enemy defenses against sundering.
"Mastering Greater Sunder isn’t just about smashing weapons to bits — it’s about nailing the timing to throw your opponent’s plans right out the window and turn the tide of battle in your favor. Jumping into this move headfirst without the right feats and a good setup is a recipe for frustration; trust me, a little prep work goes a long way." — Veteran Pathfinder Player
Common Questions People Ask About Greater Sunder
Conclusion Wrapping Up and Getting the Most Out of Greater Sunder in Your Pathfinder Campaign
Mastering Greater Sunder in Pathfinder can really up your game when it comes to control in combat. It’s not just about brute force but also requires thoughtful planning and choosing the right feats. You also need a good sense of when and how to use greater sunder tactically.
Tobias Wilde
26 articles published