Can You Spray Paint Kitchen Hardware Like a Professional?

September 4, 2025
9 minutes read
You can spray paint kitchen hardware like a seasoned pro. Spray painting offers a wallet-friendly and creative way to give tired old knobs, pulls and handles a fresh new look that instantly brightens your kitchen.
Taking a Closer Peek at Kitchen Hardware and What It is Made Of
Kitchen hardware comes in a variety of materials like metal alloys, brass, stainless steel and plastic. Each has its own quirks when it comes to spray painting. Metal surfaces usually need good sanding and a proper primer to make sure the paint sticks. Otherwise you might end up with a patchy mess. Plastic hardware requires a primer made just for plastic because skipping this step can lead to peeling that’s about as welcome as a surprise guest. Brass and stainless steel are tough cookies but often benefit from deglossing before painting. This is a nice trick to help paint adhere better.
Is It Really Feasible to Spray Paint Kitchen Hardware? Weighing the Pros and Cons with a Pinch of Pragmatism
- Spray painting usually costs less than buying brand-new hardware or paying for professional refinishing.
- It’s a quick and convenient way to refresh items. You get to choose your own colors and finishes which adds a personal touch.
- Doing a spray paint project yourself can feel very rewarding because you have full creative control and a great sense of accomplishment.
- Spray paint does a great job hiding imperfections and makes old hardware look almost like it just came from the showroom.
- Durability can be an issue especially with pieces that get a lot of daily use like cabinet pulls.
- Proper surface preparation is absolutely essential. Skipping these steps almost guarantees peeling or chipping problems later on.
- Getting a smooth and even finish isn’t always easy if you’re new to this. It requires patience and a steady hand.
- Over time, spray paint might chip or scratch especially in busy kitchens where things get a lot of use and experience occasional bumps.
Spray painting often comes across as the more accessible and wallet-friendly option compared to powder coating or calling in a professional refinisher. It might not quite deliver the same tough-as-nails durability or that flawlessly smooth finish you are hoping for when something has to stand up to the daily hustle of a busy kitchen.
Materials and Tools You’ll Need for Spray Painting Kitchen Hardware the basics that’ll get you from drab to fab without breaking a sweat
- Spray paint specially formulated for metal that really sticks and holds up over time.
- A good-quality primer, preferably a bonding primer for metals or a plastic primer if you happen to be working with synthetic materials.
- A clear protective topcoat to lock in your paint job and keep it looking fresh.
- Fine-grit sandpaper (220-320 grit) to smooth out surfaces and take the gloss off hardware—nothing beats a good prep.
- A degreaser or rubbing alcohol to give everything a thorough clean and kick oils to the curb.
- Painter’s tape to neatly cover spots you want to keep paint-free—precision matters.
- Drop cloths or newspapers to keep your workspace clean from any wayward drips or spills.
- Nitrile gloves to shield your hands from those pesky chemicals.
- A respirator mask to guard your lungs from fumes.
- Soft, lint-free cloths perfect for prepping surfaces before you dive into painting.
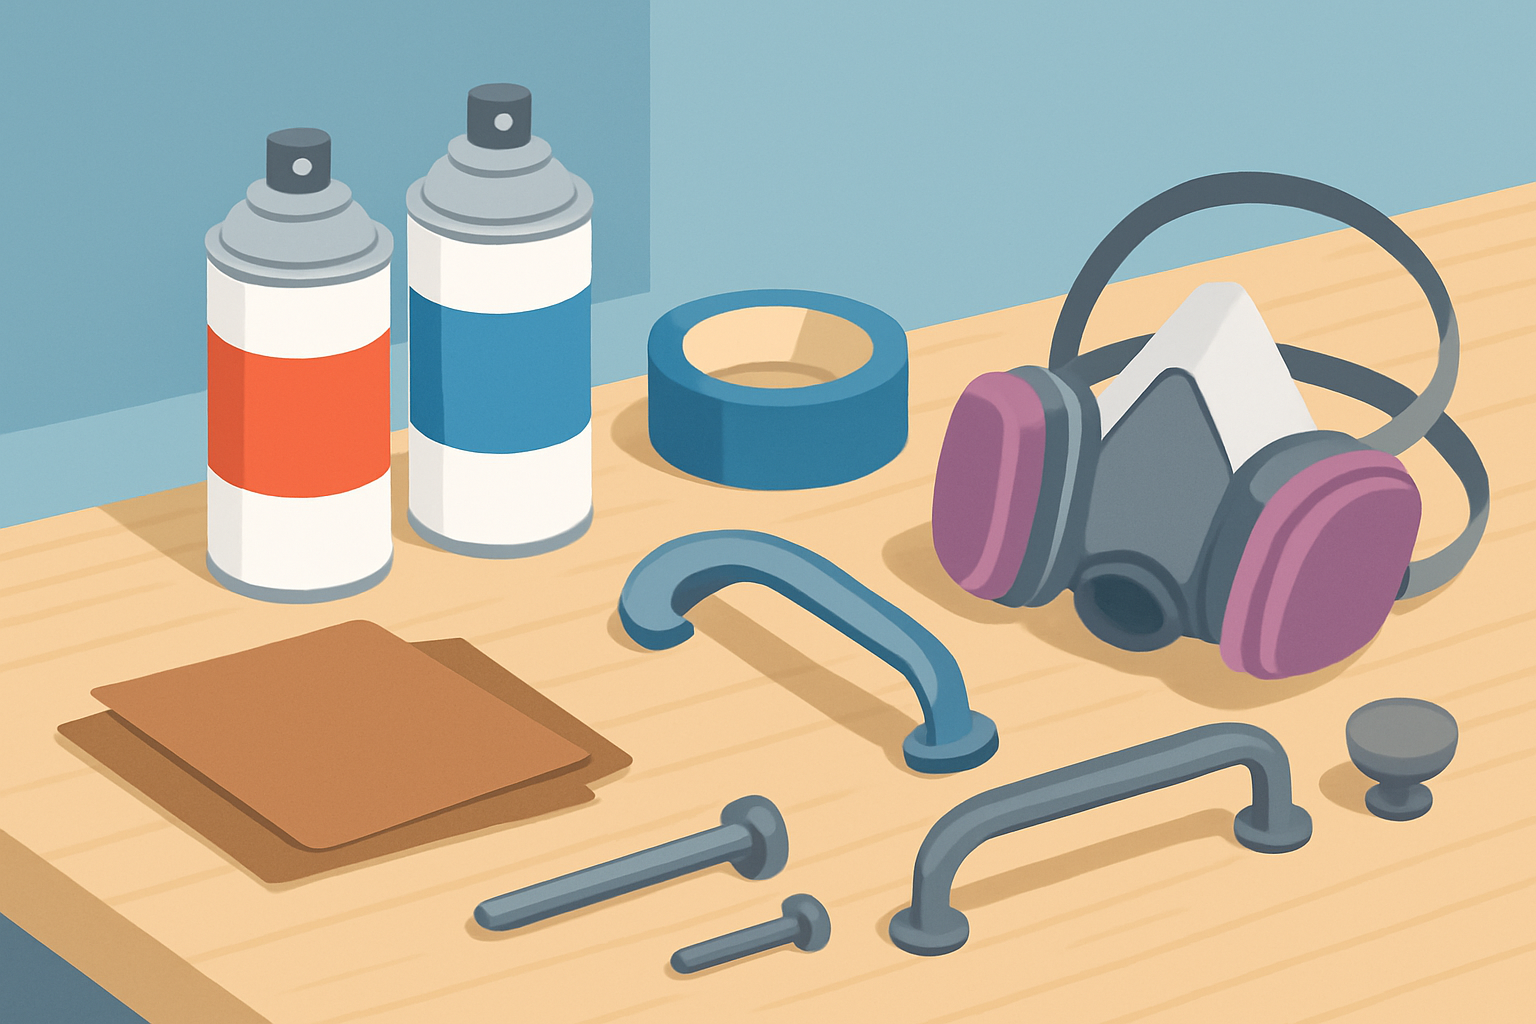
Essential tools and materials laid out for spray painting kitchen hardware
Getting Your Kitchen Hardware Ready for Spray Painting
1
Carefully remove all hardware from your cabinets and drawers and keep those tiny screws and bits neatly organized. Trust me, hunting for them later is no fun.
2
Give each piece a good scrub with a degreaser to wipe away dirt, oil and any stubborn residue that’s been hanging around.
3
Lightly scuff the surface using fine-grit sandpaper. This little step makes a world of difference for helping the paint grip nicely.
4
Wipe down each piece with a damp cloth or tack cloth to sweep away all that sanding dust. You don’t want any sneaky particles messing up your finish.
5
Carefully use painter’s tape to shield spots you’d rather keep paint-free. This is especially handy if you’re only sprucing up parts of larger hardware.
How you set up your workspace can make a surprising difference in how your paint finish turns out. I’ve learned it’s usually best to spray paint somewhere well-ventilated. Working outside or in a garage with the doors wide open tends to do the trick. Aim to keep the temperature between 65 and 85°F and humidity low so the paint dries nice and even without running all over the place. Don’t forget to lay down drop cloths to protect your surfaces and suit up with a respirator mask and gloves for safety.
A Clear Step-by-Step Guide to Spray Painting Kitchen Hardware Like a Pro (Without the Headaches)
1
Give that spray paint can a good shake for at least a minute to get the paint nicely blended and not hiding inside.
2
Hold the can about 8 to 12 inches from the hardware and spray with steady even strokes. Thin layers work best because patience pays off. 3. Let each coat dry completely which usually takes around 15 to 30 minutes before applying the next one to avoid those pesky drips. 4. Build up several thin coats gradually, layering the color and coverage like a pro to achieve a silky-smooth finish.
5
Finally, when you’re happy with how it looks seal the deal with a clear protective topcoat. Use the same gentle even technique to lock everything in and increase durability.
If you spot any drips just hold off until the area dries completely. Then give it a gentle sanding before applying another thin coat. Uneven coverage tends to smooth out after a few light layers so don’t sweat it too much. When paint starts peeling it’s usually a sign that the surface wasn’t prepped or primed quite right.
Final Steps and Putting Your Hardware Back Together (Almost There!)
Give your hardware 24 to 48 hours to fully cure before you go near it. This waiting game really helps avoid mishaps with the fresh finish when you spray paint kitchen hardware. When it is time to put everything back on, grab a soft cloth or wear gloves to keep fingerprints and scratches away. Take it easy when tightening the screws. Be gentle or you might chip the paint, and nobody wants that.
Tips to Keep Your Spray-Painted Hardware Looking as Good as New
- Gently clean the hardware using a soft cloth and a bit of mild soap while avoiding any abrasive scrubbers that could cause damage.
- Stay away from harsh chemicals and solvents because they can easily damage the paint.
- For small chips, lightly sand the affected spots and then apply a quick touch-up with matching spray paint to give them some care.
- Watch for peeling or fading paint since it is usually a clear sign that it is time to repaint or even replace.
- Make it a habit to regularly check mounting screws and hardware as this helps keep everything secure and prevents damage from any shifting.
Frequently Asked Questions
How long does spray-painted kitchen hardware actually last?
Do I really need to use a primer before spray painting?
Can I spray paint hardware without removing it from the cabinets?
What is the best type of spray paint to use on kitchen cabinet pulls?
How long should I wait before reinstalling and using the painted hardware?
Evangeline Cross
13 articles published