How To Polish Poly Finish To Bring Out The Shine?

September 19, 2025
10 minutes read
Polishing a poly finish is a key step in making wood surfaces shine, but knowing exactly how to polish poly finish properly will highlight their natural warmth and inviting depth with a glossy look. Whether it’s furniture, cabinets or flooring, a polished polyurethane finish toughens things up and smooths out the surface. It also plays with light in a pleasing way that makes you admire your handiwork more than once. This guide leads you through a straightforward step-by-step approach to polishing poly finishes with confidence whether you’re a seasoned pro or just starting out.
Understanding Poly Finish and What Makes It Unique A Quick Dive Into Its Charm
Poly finish, often called polyurethane, is a go-to protective coating for wood surfaces that many swear by. You’ll usually find it in two types: oil-based and water-based. Oil-based poly adds a rich warm glow and strong durability, but it requires more patience while drying. On the flip side, water-based poly dries quicker, keeps odors low, and generally stays clear without turning yellow over time. Both types roll out a tough protective layer that holds up well against scratches, moisture and chemicals—making them solid picks for furniture, floors and cabinets alike.
The Importance of Polishing a Poly Finish
When it comes to achieving that flawless, glassy look on your wood projects, polishing a poly finish is a step you definitely do not want to gloss over. It’s the secret sauce that takes your work from 'meh' to masterpiece. Sure, applying the poly gets you most of the way there, but polishing it? That’s where the magic truly happens. Think of it as giving your finish its final polish and shine, a little TLC that rewards your patience and effort with a result that simply dazzles. Plus, it smooths out any tiny imperfections that sneak in, leaving your surface silky-smooth and oh-so-touchable.
Polishing a poly finish really brings out its best by wiping away those pesky little surface flaws like dust nibs or faint scratches, leaving the texture feeling smoother and far more refined. You end up with a gloss that’s so shiny it’s almost mirror-like, catching the eye in all the right ways.
Tools and Materials You’ll Want to Have on Hand to Polish a Poly Finish
- Fine grit sandpaper (320 to 400 grit) or sanding pads to gently smooth the surface without going overboard
- Polishing compounds specially designed for tricky polyurethane finishes because not all polishes are created equal
- Clean lint-free microfiber cloths or soft cotton rags perfect for applying and buffing compounds
- An electric buffer or polisher that saves your arm on larger surfaces
- Mineral spirits or water for cleaning the surface beforehand to ensure nothing gets in the way of a good finish
- Protective gloves to keep your hands clean and safe from rough materials
- Safety eyewear to shield your eyes during the inevitable sanding or buffing dust
- Tack cloth to wipe away lingering dust after sanding so your finish looks flawless
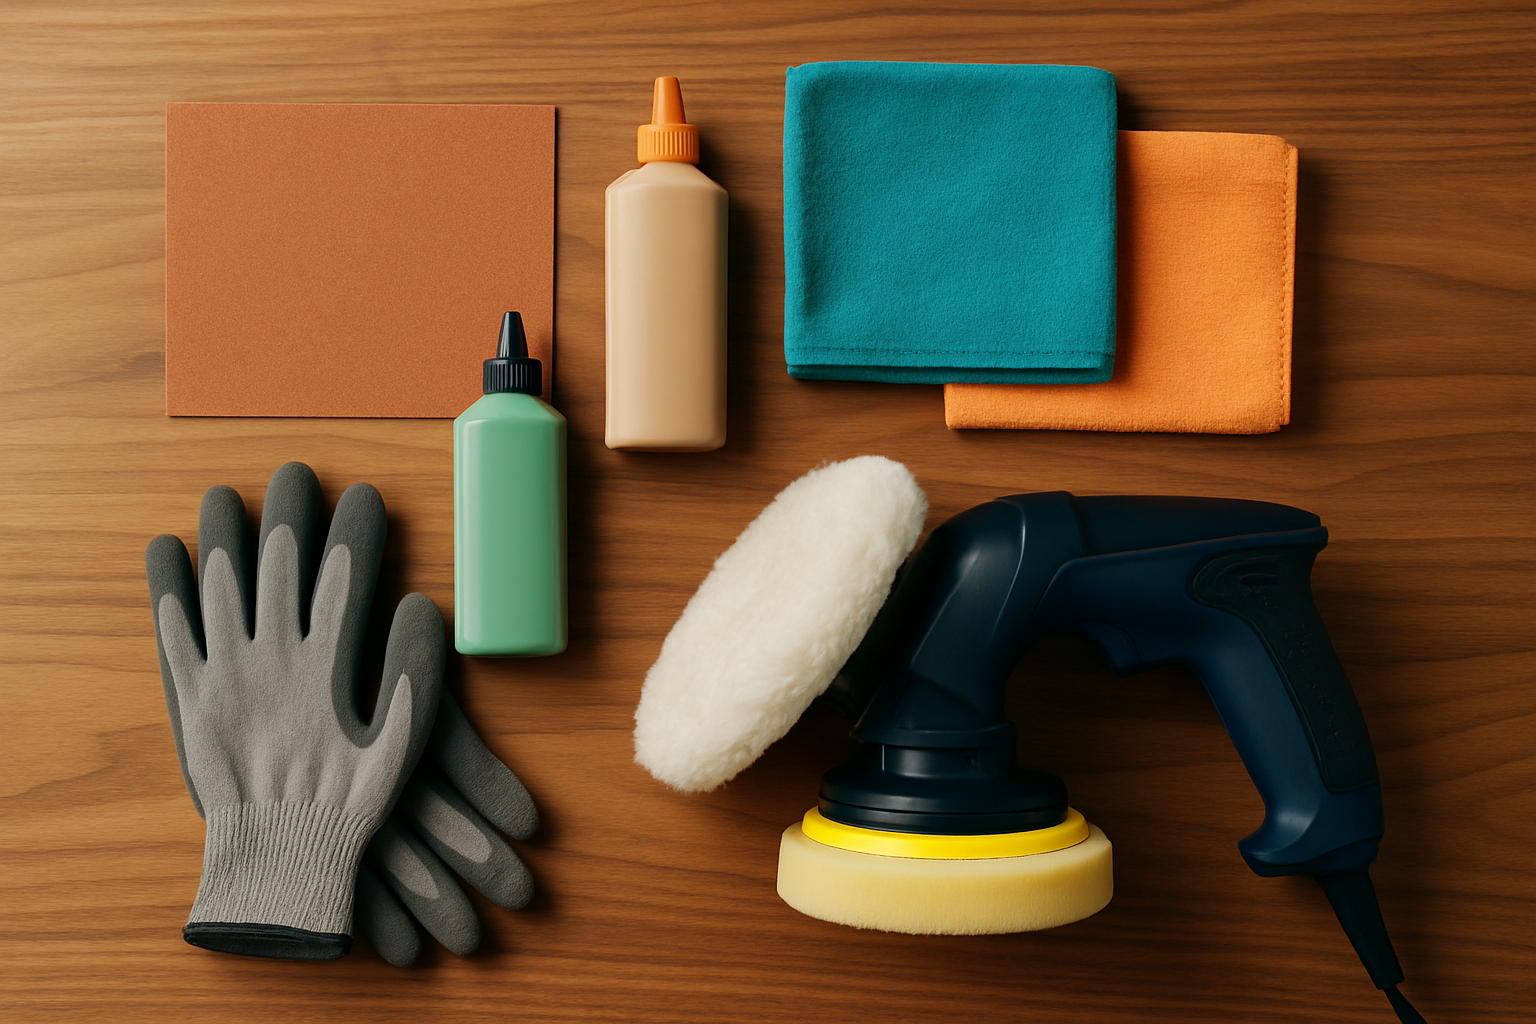
Essential tools and materials needed to polish a poly finish, neatly arranged on a workbench
Preparation The Essential Steps to Get Your Poly Finish Surface Ready and Raring to Go for Polishing
Before you dive into polishing it is really important to give the surface a good clean to banish dust and oils that love to sneak in. Grab a mild cleaner or some mineral spirits and pair that with a lint-free cloth for the best results. Take a careful peek for any scratches or bumps. If you spot some gently sand the poly finish using fine grit sandpaper working along the grain to avoid unwanted marks. Also make sure the poly finish is fully cured. This can take from a few days to a few weeks depending on the product so you do not ruin the coating while polishing.
Step-by-Step Guide on Polishing Poly Finish to Really Bring Out That Shine
1
Start by giving the poly finish surface a thorough clean using mineral spirits or a mild cleaner applied with a lint-free cloth. Make absolutely sure the surface is bone dry before you move on—no one likes a streaky finish.
2
Dab a small amount of a quality polishing compound onto a soft cloth or polishing pad, just enough to get the job done without going overboard.
3
Work in manageable little sections and rub the compound on with gentle steady pressure using circular or overlapping motions like you’re coaxing the shine out not scrubbing in a frenzy.
4
Keep at it until the finish starts to catch the light and the surface feels smooth under your fingers.
5
Grab a clean cloth to buff away any leftover compound from the spots you’ve polished—nobody wants a gummy residue spoiling the effect.
6
For bigger surfaces or stubborn dull patches an electric buffer set on low can be a real time-saver and helps spread the compound evenly without wearing you out.
7
Give the surface a close once-over and don’t hesitate to polish again if you spot any lingering dullness or imperfections; it’s worth being a bit picky here.
8
When you’re pleased with what you see, finish off by buffing the whole surface with a clean dry microfiber cloth to bring out that knockout mirror-like shine that really turns heads.
When applying polishing compounds, try to spread them evenly to avoid streaks or patchy shine that can sneak up on you. Use light to moderate pressure because going in too hard might mess with the poly finish or cause uneven wear and nobody wants that. Switch up your polishing direction with circular or figure-eight motions to achieve a consistent result. Be careful not to overdo it on any one spot because too much polishing there can dull the finish or expose the wood underneath, which is definitely not the goal. If you are working with a power buffer, keep it moving at a steady pace without lingering in one spot and make sure you are using pads designed for delicate surfaces.
Typical Issues You Might Run Into When Polishing Poly Finish and How to Smooth Them Out
- Dodge those pesky swirl marks by grabbing a soft foam pad and keeping the buffer moving smoothly across the surface. Avoid lingering in one spot.
- For stubborn deep scratches, I’ve found it helps to start with finer grit sandpaper before polishing. This smooths things out without overdoing it.
- If the sheen looks patchy or uneven, try gently polishing with very fine abrasives while applying steady pressure. Think of it like coaxing the finish back to life.
- Avoid over-thinning the finish by watching the number of polish passes and steer clear of aggressive sanding because less can be more here.
- If the finish feels sticky or tacky, it probably hasn’t fully cured yet. Patience is key so give it more time to dry before jumping back in with the polish.
When troubleshooting polishing it’s important to keep a sharp eye to avoid unwanted surface damage—a slip-up here can be a real headache. A good rule of thumb is to test polishing products on a small inconspicuous spot first. If you catch any cloudiness or that annoying tacky feel it’s a sign to hold your horses and let the finish cure longer. Tackling stubborn scratches? Sometimes a bit of sanding followed by a thin swipe of polyurethane before polishing again does the trick. To dodge swirl marks make sure you are using the right tools and techniques and steer clear of anything abrasive.
Tried-and-True Tips for Keeping That Polished Poly Finish Looking Fresh Over Time
To keep your polished poly finish looking sharp and fresh, make a habit of wiping the surface regularly with a soft damp cloth and mild soap when things get grimy. Steer clear of harsh chemicals or gritty cleaners because they can dull the charm. I have found it pays off to use products made for polyurethane finishes like furniture polishes or conditioning sprays to keep that surface gleaming like new. When you notice dullness or minor scratches creeping in, which usually happens every few years depending on wear and tear, it's a good time to learn how to polish poly finish and give it that little re-polish love.
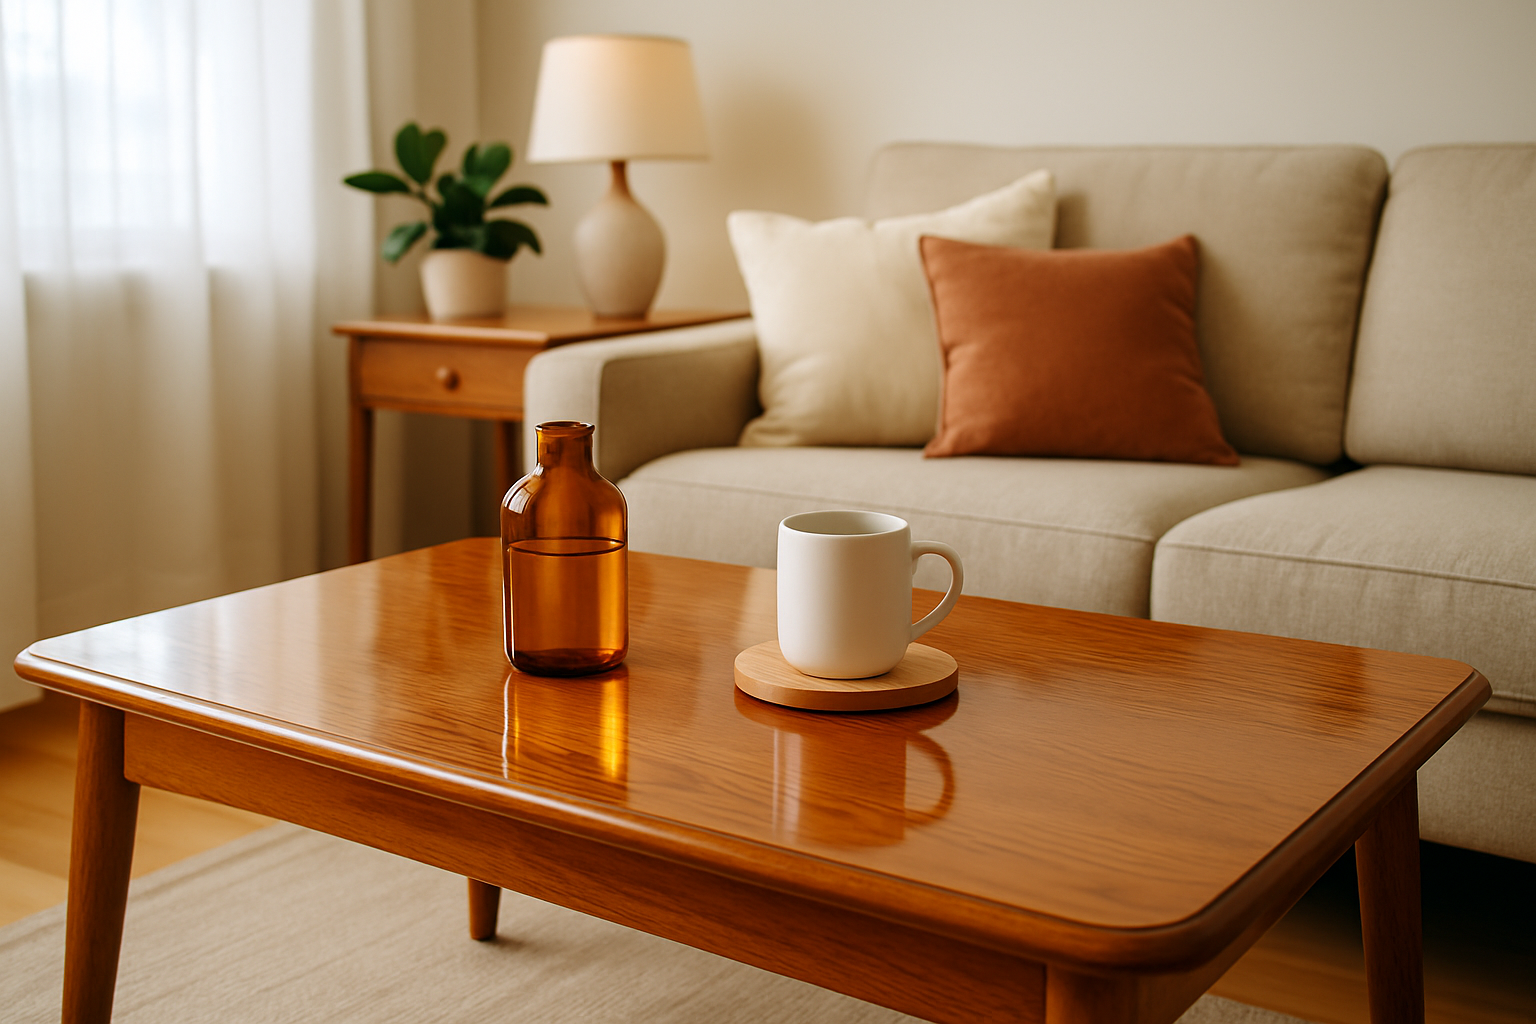
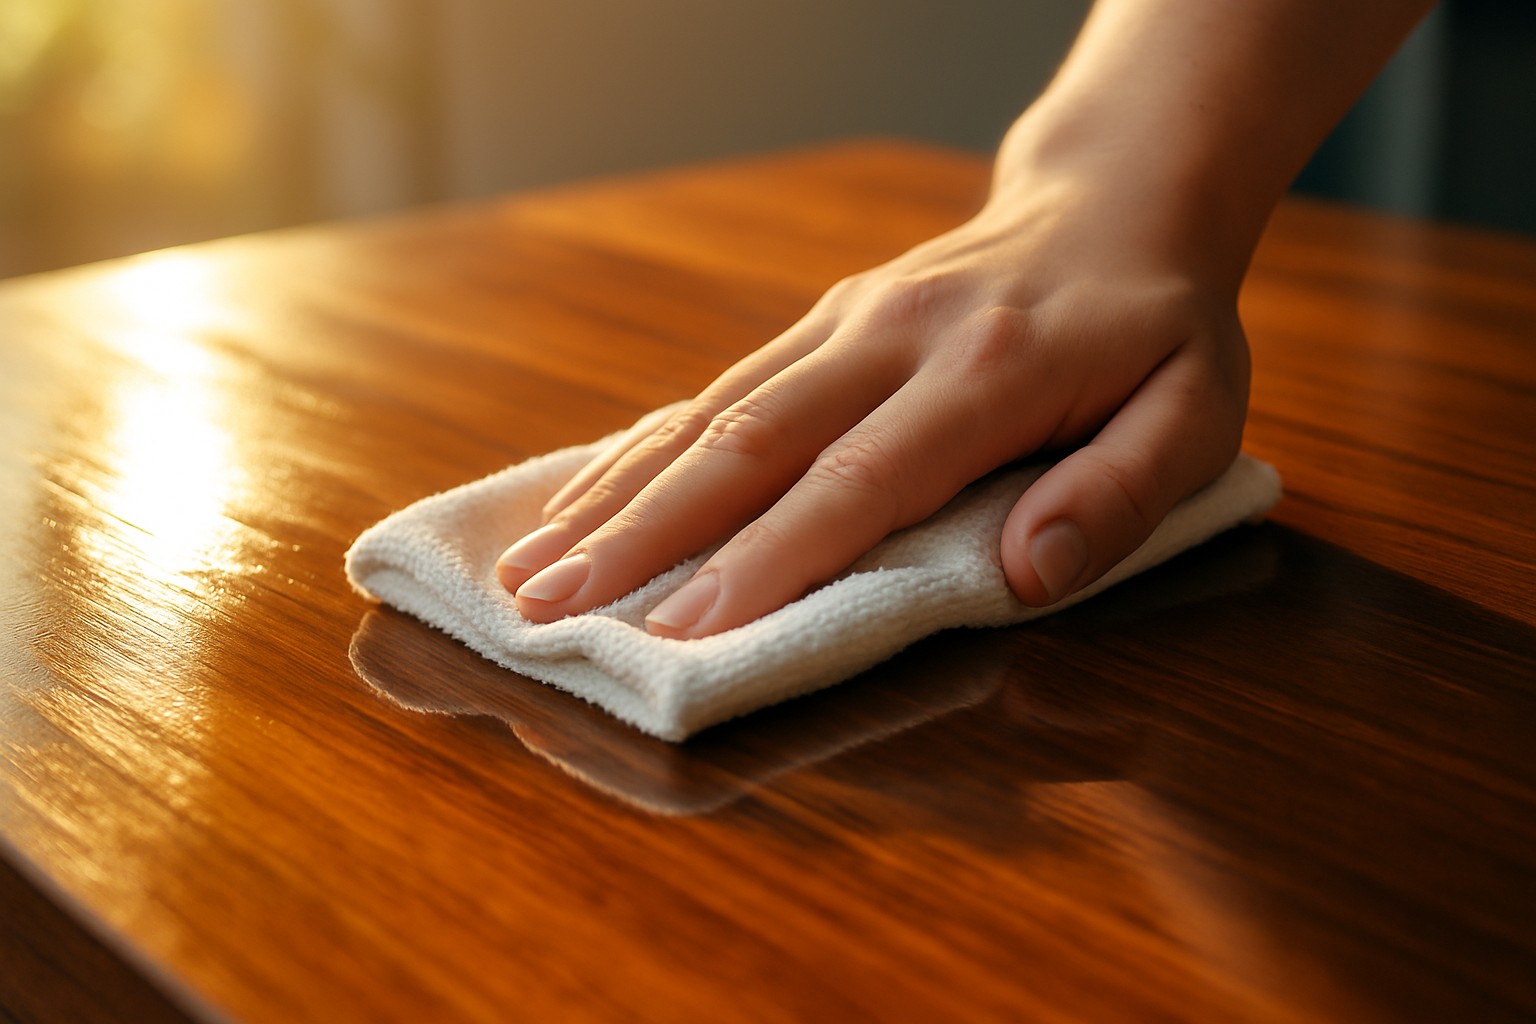
A polished poly finish on furniture demonstrating a well-maintained, shiny, and smooth wood surface
Frequently Asked Questions
How long should I wait for the polyurethane to cure before I can start polishing it?
Can I use car wax or a general-purpose polish on a poly finish?
What should I do if I accidentally create swirl marks while polishing?
Is it necessary to sand the surface before applying the polishing compound?
How often will I need to re-polish my polyurethane finish to maintain the shine?
Camden Sterling
21 articles published